

Click title or picture for full article.
Wilderness Survival Shelter - A-Frame Shelter - (Double Lean-to)
One of my favorite debris shelters is the double lean-to (a-frame). If built properly it can keep you warm and dry through adverse weather. The a-frame shelter can be built out of branches and debris. It can also be built using a tarp or sheet of plastic. Most survival (mylar emergency) blankets are too small to build a proper a-frame unless its to keep you out of the sun. (See emergency blanket shelter article below)
If you spend anytime in nature, shelter building skills are imperative. The more technology advancements we make, the more our primitive side calls us back to the wilderness. If you enjoy camping, hiking, fishing, mountain biking, photography, or anything that takes you into nature, you should know the basics of survival. Shelter can keep you warm, and dry in an emergency.
What type of shelter we build is a decision made by looking at things such as:
* How much sunlight is left if any
* Is it raining or snowing
* Location
* Available materials
If you practice building survival shelters, more ideas will come to you. Our mind starts to change. A rock overhang becomes a good place to hide from rain or snow. A fallen tree a great way to save time building a lean-to shelter. Please do not wait until an emergency to learn a few simple steps.
In this article we cover the double lean-to or what a lot of people call the a-frame shelter. An a-frame shelter can be built by simply using a tarp and string (cord). If you carry parachute cord and a tarp, you can have build a shelter in minutes. But if you do not, this article shows you how to build a shelter without the use of any tools. I cannot imagine going into the wilderness without a knife but, here it is....
The Double Lean-to Shelter (A-Frame):
Choosing a location:
Save time and cord by finding a tree with a low hanging branch or “y” shape. See illustration.
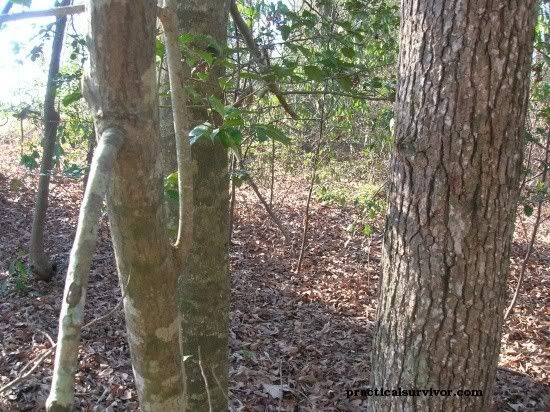
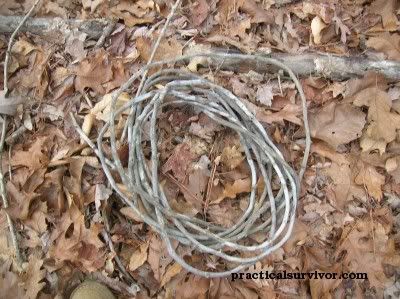
If unable to find either, then you can tie the shelter backbone to the tree. An alternative would be to cut a “Y” shaped branch tall enough to be the base of the shelter and insert it into the ground. This adds to the time and labor and I have never had a problem finding a tree that would work so far. We have been able to build shelters using natural cordage from vines.
Once you have chosen a location, look at the area you plan to sleep on. Look for rocks or roots. A root in your back while you try to sleep can really rob you of rest. If you have time, you can rake the ground and check for creepy crawlies. Then I like to stack a decent amount of leaves on the spot. They will compact when you lay down on them, so make it thick.
After the sleeping area is prepared, we can position the backbone of the shelter and secure it. As with any other shelter I try to find wood from a tree that has already fallen. Trees that have collapsed but stopped by another tree are the best. If the wood is not touching the earth directly it slows the decomposing process. It is important that you do not use a stick that has been laying directly on the ground since they tend to break. Keep in mind that the frame of the shelter will have to hold up the weight of the insulation. There is nothing worse than building an entire shelter and as you pile your insulation having the spine snap. Ask me how I know. The longer the wood lays in direct contact with the ground, the more likely it is that the wood is decayed. In a true survival situation I would cut a small tree down. Hopefully you have a knife or some sort of survival saw.


Please test the survival saws before you really need them.
*** Avoid using older wood that may snap under the weight of the insulation.
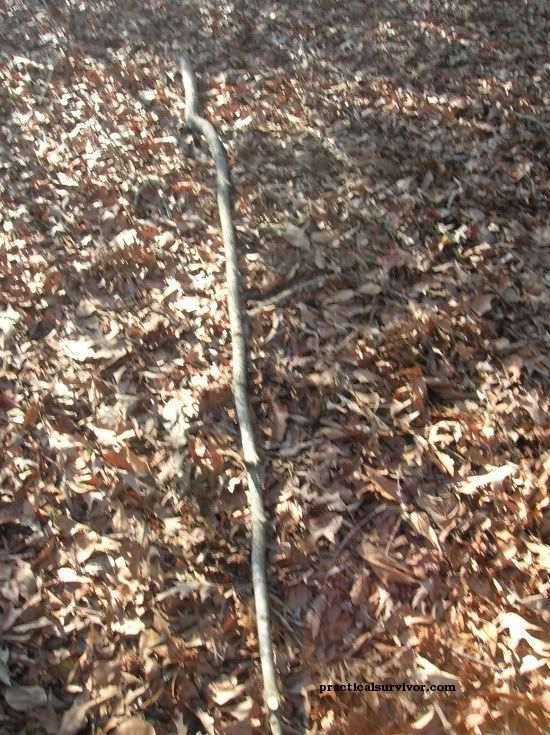
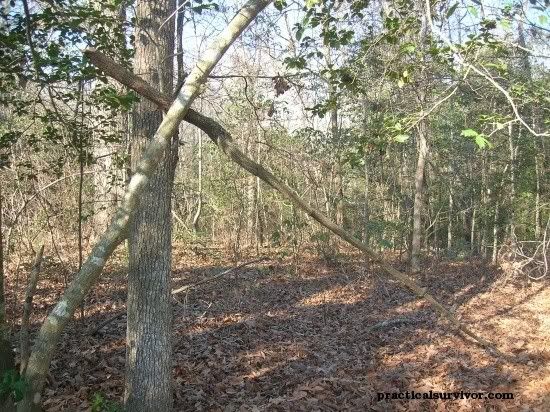
Once you secure the backbone stick and you are satisfied with the length. You will need smaller sticks to start building the walls of the shelter. I call it an “A” shape. Keep them pretty close so the leaves will not fall through when insulating.

Normally I would place the backbone a little lower. For illustration purposes and better pictures the shelter will be built at this height.
When building a double lean-to or any other shelter, we always want to keep in mind how much time we have before the sun goes down. My preference is to start building my shelter as soon as a good site is found. In our SHELTER article we discuss the advantages of building a shelter before a fire. There have been times when I chose a fire before building a shelter and paid the price with a very cold night of sleep. Under other circumstances, this could have been a deadly decision. Remember there is no set order between fire, water, shelter or food. Access the situation at hand and make the choice.


Next step is to insulate the walls. You can save a lot of time by making a rake out of a branch and using a blanket or tarp if you have one. Rake the leaves onto the tarp and carry them to the shelter. I like to use the leaves around my future fire pit to avoid forest fire. Live by one rule, you can never insulate too much. Remember this will help not only to keep you warm but also dry during the night.

Normally it is best to build both sides of the walls. In this picture you can see one side built like a lean-to. Again, I would add about three times as much insulation.


Once the walls are insulated, get inside of the shelter. Look for any light or wind coming through the insulation. If you lay enough insulation the first time, this should not be an issue. There might be a situation when you are running out of daylight or materials.
I usually cover part of the "front" of the shelter. Keeping the entrance of the shelter small will keep the wind, and the rain out.

Note:
This shelter is not finished. The colder the environment you are facing, the more insulation you would want to add to the top of the shelter and on the floor. It is always a good idea to make the shelter just large enough to fit your body. The idea is to minimize the area our body heat will have to warm up. Choose your shelter space wisely, of you will spend a cold night.
We will build a second set of pictures for an a-frame debris hut that has more insulation and possibly a door.
It is important to remember that the shelter is very flammable.
After thoughts.
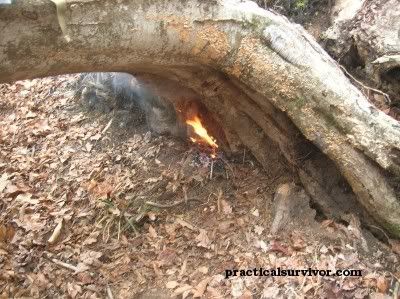
You will have to make a decision now. Hopefully you will be able to build a fire in the front of the shelter. The radiative heat should help to dry up any moisture in the leaves. The decision is do you keep the front open or to build a door. Again it comes down to time and materials. If possible, have both. If precipitation puts out your fire, you want to have a way to seal your body heat into the shelter.

Please see related articles:
How to build a Lean-to shelter

Click title or picture for full article.
Click title or picture for full article.

Click title or picture for full article.

Click title or picture for full article.

practicalsurvivor.com is licensed under a Creative Commons Attribution-Noncommercial-No Derivative Works 3.0 Unported License.